


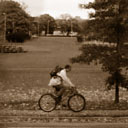
Melancholytron
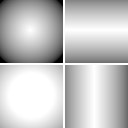
Melancholytron makes pictures blurry, dark, and discolored in a way that varies across the image. It can leave the picture clear and lucid in the center, and increasingly fatigued toward the edges. With this effect you can produce a faux-antique look with vignetting and sepia-toning, or a sad, moody look with blurred and dampened colors.
To use this software, you need a paint program which accepts standard Photoshop 3.0 plugins.
Just put the plug-in filter into the folder where your paint program expects to find it. If you have Photoshop, the folder is Photoshop:Plugins:Filters or Photoshop:Plug-ins. You must restart Photoshop before it will notice the new plug-in. It will appear in the menus as Filters->Flaming Pear->Melancholytron.
Most other paint programs follow a similar scheme.
If you have Paint Shop Pro: you have to create a new folder, put the plug-in filter into it, and then tell PSP to look there. In PSP's menus, choose File-> Preferences->General Program Preferences (PSP versions 5 and 6) or File->Preferences->File Locations (PSP version 7). Next, click the Plug-in Filters tab. Use a "Browse" button to choose the folder. The plugin will appear in the menus as Image->Plug-in Filters->Flaming Pear->Melancholytron.
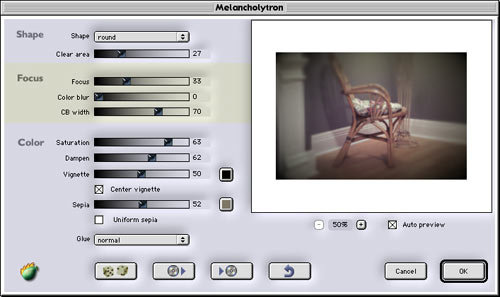
When you invoke Melancholytron, a dialog box will appear:
| Quick start | |||
| If you just want to see some effects quickly, click the dice button
until you see an something you like; then click OK.
Using the dice is the easiest way to use Melancholytron. If you want to hand-tune your own effects, it helps to learn the controls, which are arranged into three groups: ...and a few other controls that affect the whole image. |
dice |
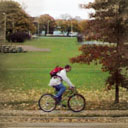
| 2. Focus | |||
| Focus makes the image blurry. This can simulate depth-of-field to draw
the viewer's attention to the center of the picture.
|
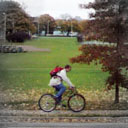
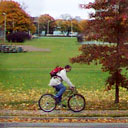 original image
|

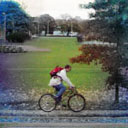
| Color blur smears only the color while leaving the luminance intact. This
control says how much of this effect to apply.
CB width controls how blurry the color becomes.
|
 blurred color
|
| Dampen makes vivid colors darker.
|
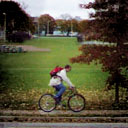 dampened trees
|
| Vignette fades the edges of the picture to a uniform color.
The color button lets you choose the vignette color. Black works best and produces the appearance of a picture taken with a cheap lens or a bad flash.
|
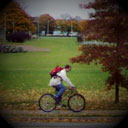 vignette
|
| Sepia applies a tint to the image.
The color button lets you choose the sepia color. Medium gray yields a black-and-whute picture; subtle hues close to gray give a traditional sepia look. Colors very close to black or to white can dramatically warp the contrast.
|
 uniform sepia
|


You can place an order online here. A secure server for transactions is available.
Answers to common technical questions appear on the support page, and free upgrades appear periodically on the download page.
Trouble with your order? Orders are handled by Kagi; please contact them at admin@kagi.com .
For bug reports and technical questions about the software, please write to support@flamingpear.com .